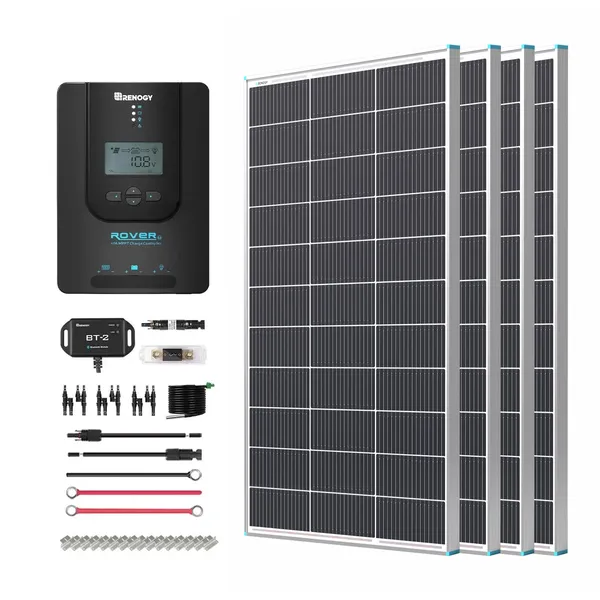
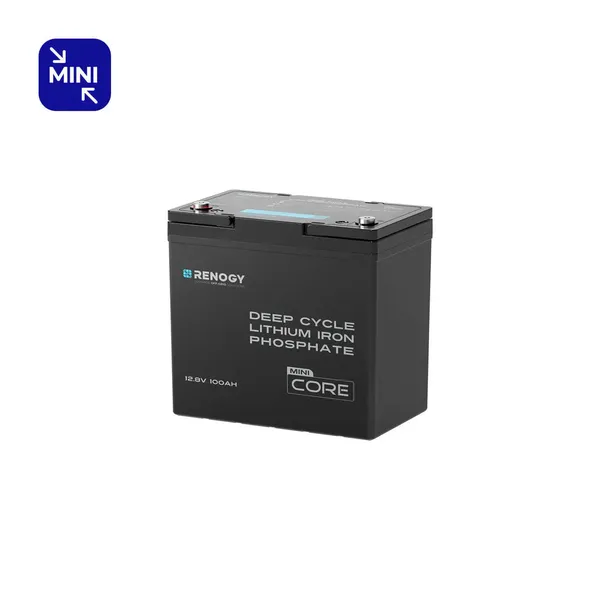
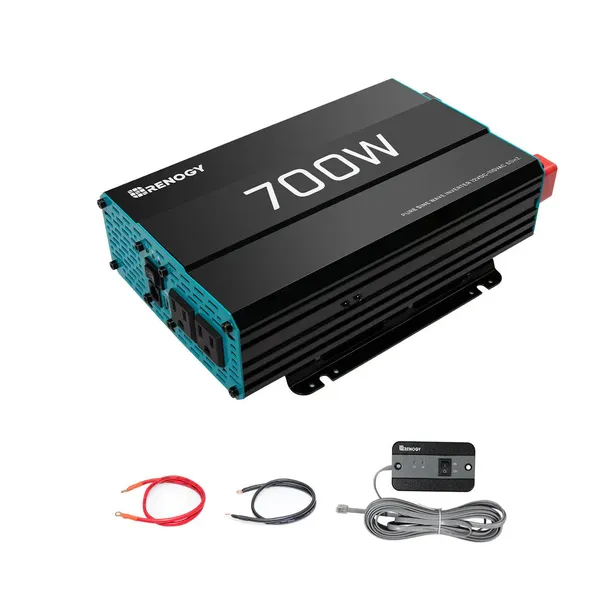
Our top pick is a complete 12V build from Renogy parts, starting with the Renogy 400W Solar Panel Kit with a Rover 40A MPPT controller. With the 100Ah lithium battery and 700W pure sine inverter we list, you get roughly 1.28 kWh of stored power for lights, a router, phones and laptops.
Updated Oct 21, 2026 · 6 picks · Prices checked Oct 26–31, 2026
A portable power station is the easy way to store solar power. If you want a fixed system you wire yourself for a cabin, shed or home backup, this is a complete beginner-sized build from Renogy parts: 400W of panels, a 40A MPPT charge controller, a 100Ah lithium battery, a 700W pure sine inverter, the fuses Renogy calls for, and a battery monitor. Everything runs at 12V, and each part was checked against Renogy's own specs so the pieces fit together. Expect roughly 1.28 kWh of stored power, enough for lights, a router, phones, laptops and other small loads; it is not sized for a fridge plus heavy appliances. All parts are Renogy picks from renogy.com, not independently tested by a reviewer. For a plug-and-play option, see our portable power station and portable solar panel guides.
★ Top Pick
Renogy 400W 12V Solar Panel Kit with Rover 40A MPPT Controller
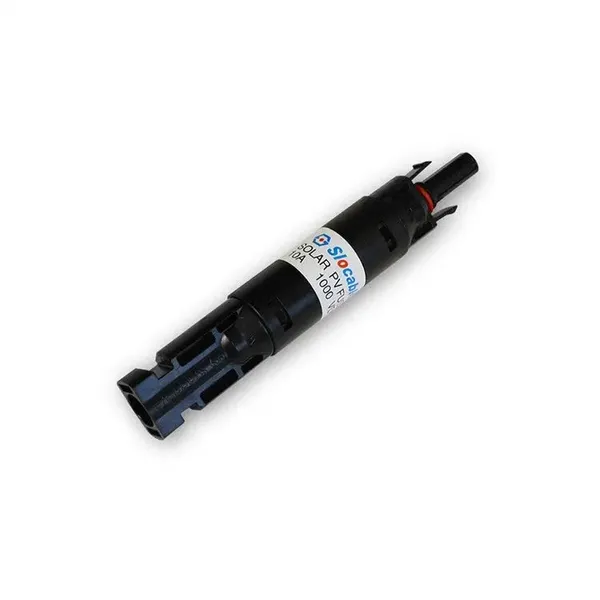
Why it's herePanels, charge controller, cables and mounts in one box: four 100W panels, a Rover Li 40A MPPT controller with BT-2 Bluetooth module, a 20 ft 10AWG panel-to-controller adaptor kit, an 8 ft 8AWG tray cable, a 2 ft 8AWG fuse cable with 40A ANL fuse, four sets of Z mounting brackets, three pairs of Y branch connectors and one 10A in-line fuse. The controller handles up to 520W of panels on a 12V battery.
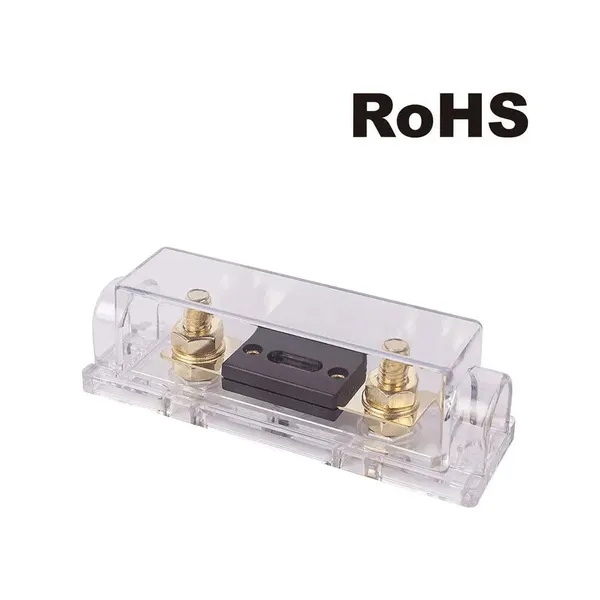
⚠️ Fuse every positive run: the in-line fuse on each panel, the 40A ANL fuse between controller and battery (the Rover has no built-in fuse), and the 100A ANL fuse between battery and inverter. This is a standalone system: plug things into the inverter's outlets. Any connection to your home's wiring (an inlet, transfer switch or subpanel) needs a licensed electrician and may need a permit. Turn the inverter off and disconnect the battery before working on wiring, and follow each Renogy manual.
How it connects
The order is panels → charge controller → battery → fuse → inverter.
Panels: mount the four 100W panels with the Z brackets and wire them in parallel with the Y branch connectors, one in-line fuse per panel (the kit includes one; add three 15A fuses, since Renogy rates its 100W panels for up to 15A).
Panels → controller: run the 20 ft 10AWG adaptor kit from the panels to the Rover 40A controller's solar input.
Controller → battery: connect the controller's battery terminals to the 12V LiFePO4 battery with the kit's 8AWG cables, with the 40A ANL fuse on the positive side. Set the battery voltage on the controller before connecting.
Battery → fuse → inverter: run the inverter's 6AWG cables to the battery, with the 100A ANL fuse on the positive cable close to the battery.
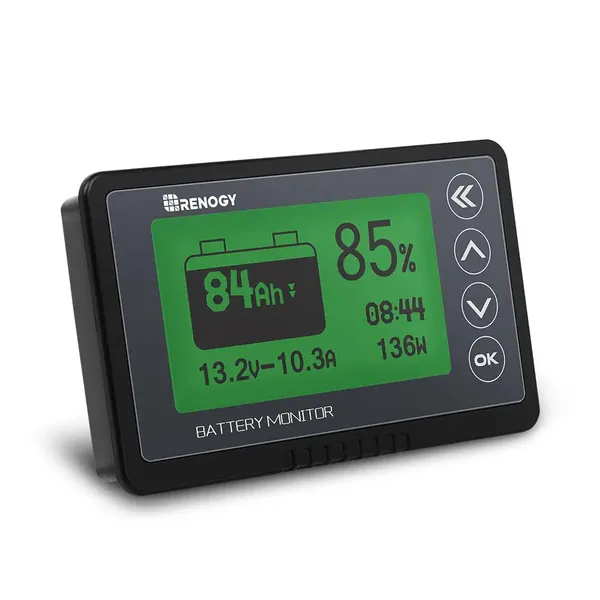
Monitor: put the battery monitor's shunt on the battery negative so it counts every amp in and out.